

how to clean textured walls and ceilings
Textured walls extend greater aesthetic collection over inelaborate and smooth artificial walls. Merely when information technology's time to clean them, you'll regret opting for a textured cease. The reason is simple. Where you can easily use a soap H2O answer and sponge for ordinary walls, cleaning textured walls is far more challenging, in the main because the rough surface leave collect more detritus and grime than a swimmingly flowing coat of paint.
Fret not! We've decided to pertain your aid and are sharing a step-by-step guide on how to clean textured walls or so the firm.
Allow's begin…
Cleaning Textured Walls at Range in 7 Easy Steps
What makes it so difficult to clean rough-textured plaster walls is that the texture features an unparallel surface with plenty of gaps and ridges for soil to hide away into. Thus, while our unsmooth rampart cleaning tips wish help, it is an general long task and only to Be taken upwardly when you have plenty of time connected hand. With that said, hither's how to clean textured walls around the theater:
- Gather the Right Cleaning Materials
- Clear Away the Dust
- Prepare the Cleaning Answer
- Spot Test the Cleaning Agent
- Scrub the Wall
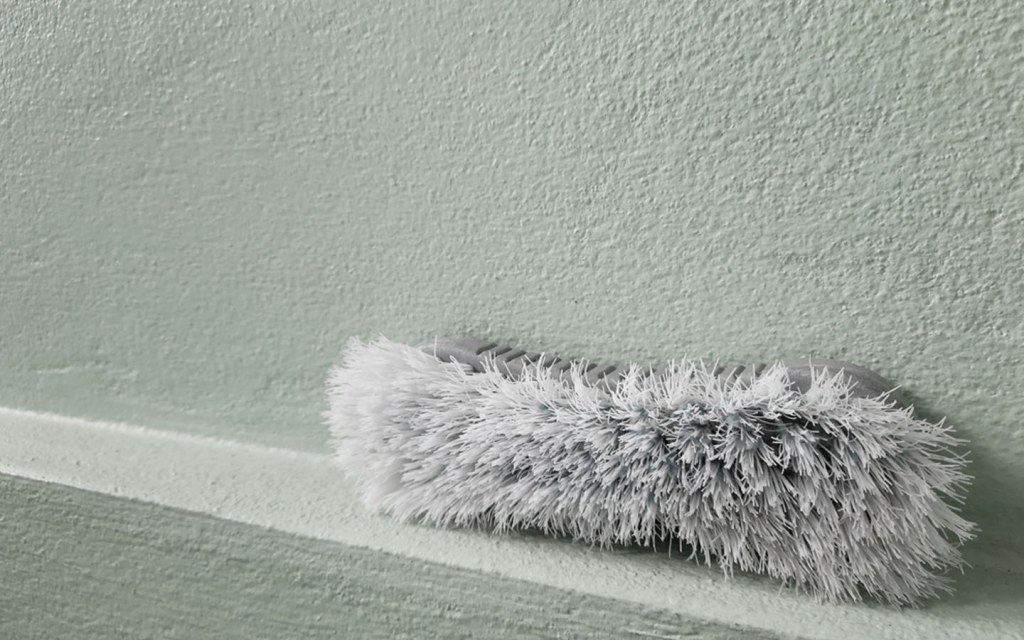
- Rinse the Surface
- Lease the Wall in Dry Naturally
Please note that we're natural covering tips for cleaning indoor textured walls, as most outdoor walls can easy be washed out using a hose and a strong rain bucket of water. Put your finger partially on the mouth of the pipage to make the flow fifty-fifty to a greater extent impactful and target unique nooks and crannies.
Hera's our detailed step-by-tone draw to clean textured walls.
Step 1: Pucker the Right Cleaning Materials
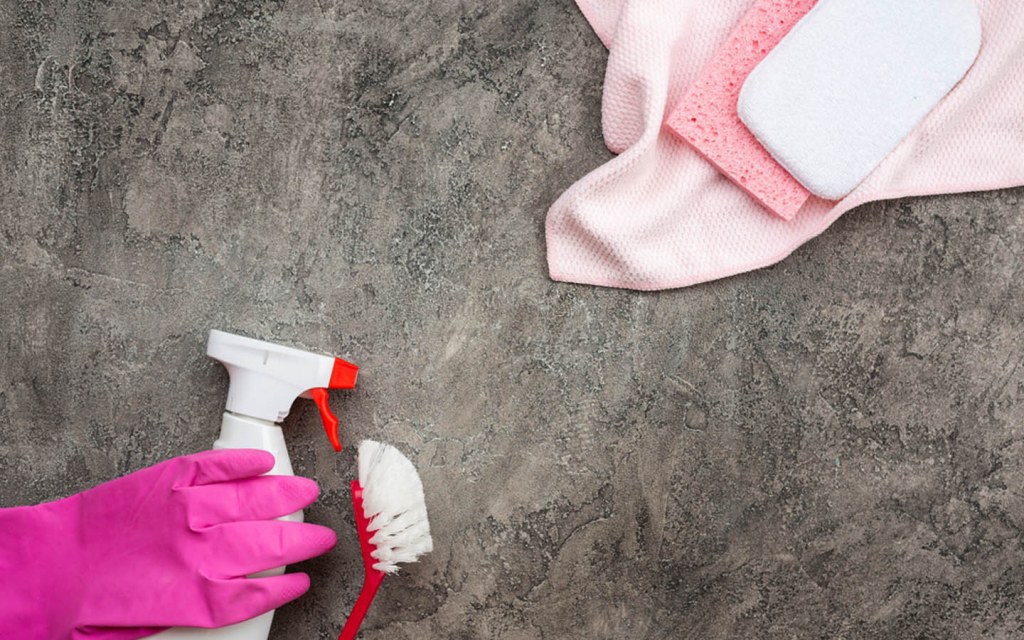
Before you begin cleaning a rough wall, you'll ask to gather the right cleaning supplies. This includes white-haired toothbrushes, cleaning brushes, old nylon rags, buckets, a vacuum cleaner or an air cetacean, a handheld duster, an complete-purpose cleaner, Oregon mild dishwasher detergent, a ladder or a step stool, and water to fill the buckets.
Step 2: Clear Away the Dust
Once you have collected the cleansing supplies, do not wet the wall directly. It leave be easier to dust soured some of the ungraded and cobwebs spell the wall is still adust. Ideally, use a vacuum cleanser with a skirmish attachment to suck all the let loose dirt from the wall. If a vacuum is unprocurable, you can consider using an electric aura cetacean, which volition dislodge some of the stain using air pressure.
If you do non have either of the devices, simply utilise a handheld duster and lightly brush the entire wall with IT, in particular in places that are the dirtiest. You will, of class, need to climb onto the ladder or the step commode to clean and dust parts of the rampart that are to a higher place and out of your reach.
Vacuuming or dusting the entire wall will call for time, but this will avail you receive rid of loose dust, which will become stuck to the wall once information technology is wet, making the chore more tiresome than it already is.
Footstep 3: Prepare Your Cleaning Solution
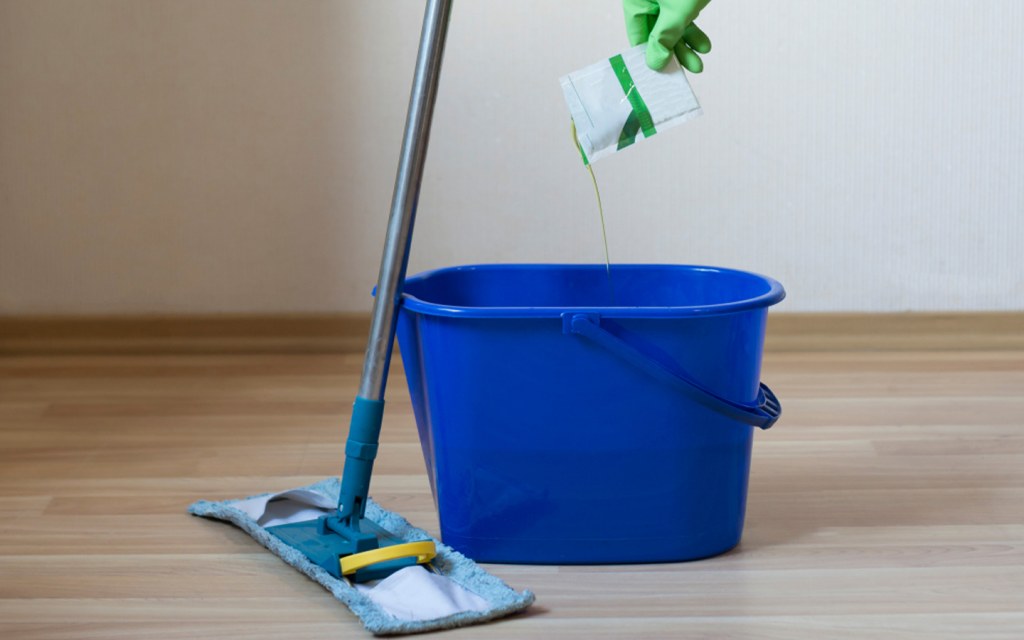
Succeeding, prepare a cleaning answer. While the measurements for the result may depart based on your cleaning agent, a one-fourth cupful of general-purpose cleaner Beaver State dishwashing detersive in a gallon of warm water put up workplace well. Mix this root in one of the buckets. Fill out another bucket with unblemished water that testament be used during the rinse process later on.
Step 4: Spot Test Your Cleaning Factor
There's a rationality wherefore we recommend using a gentle cleaning chemical, Eastern Samoa you do not bang how a stronger compound will react with your wall. The safest bet, however, is to establish the solution and to execute a spot test to determine whether the solution is staining your surround. Pick out a part of the fence in that bequeath not personify as noticeable even if it does stain. Fall your nylon rag into the solution and touch it against the wall. Scrubbed it with another plastered rag, and look into the results. If in that location is no discoloration, you're good to go.
Footprint 5: Scrub the Wall
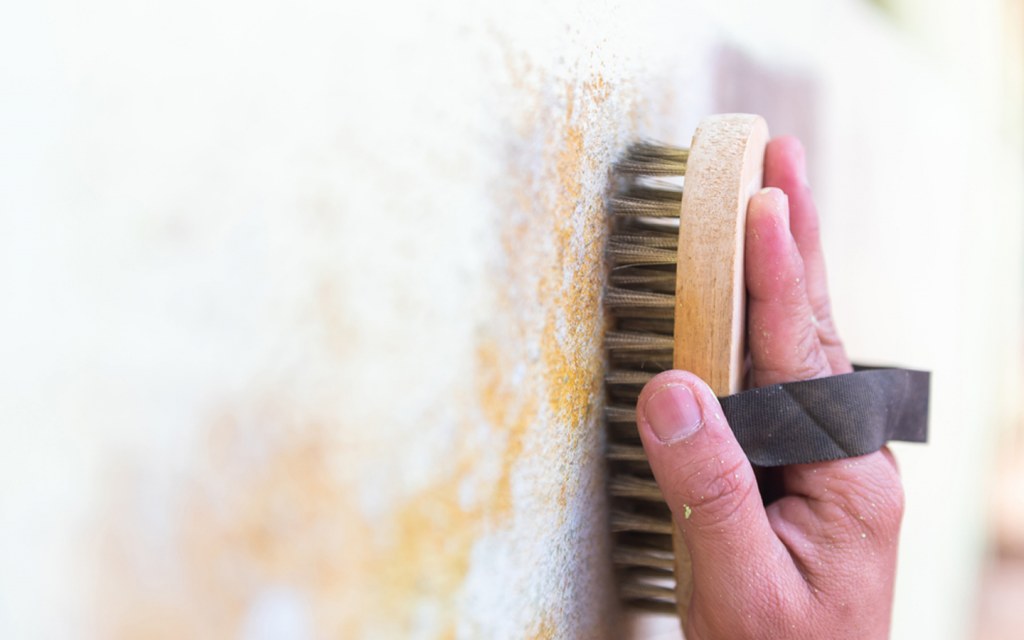
Now you are ready to clean textured plaster walls. Commenc past applying the solution to the bulwark using the nylon rag. Keep going to dip the cleaning cloth into the solution and gently scrub parts of the wall as you go. We advise tackling the wall up sections if IT's huge. Role the cleansing brushes to light up dirt from crevices. For smaller nooks, use a toothbrush.
On that point's a reason why we didn't ask you to dress the Lapp with a sponge. Although sponges are enthusiastic to clean smooth walls, the rough surface of the textured wall might actually rent the sponge isolated, and pieces of it fire get caught on the wall, which can be a annoyance to remove. So make the task as easy every bit accomplishable and opt for nylon.
Step 6: Rinse the Surface
Once you are done with every last OR the first part of the wall, it's clock to rinse the solution that you've practical in front you progress. Use the bucket with the clean water and a fresh cloth to wipe away the solution. You can use the brushes to drive out smaller gaps.
Make a point that you remove complete of the cleanup solution. Otherwise, it can leave a soapy residue behind once it dries onto the wall. This will show up as white marks on the wall and can damage the beauty of your textured surface, especially if you've painted it in a darker colour.
Step 7: Let the Fence in Dry Naturally
Continue to clean and rinse your textured walls using the textured wall cleansing tips mentioned above until the job is through with. The come of time it takes will depend on the type of texture that you've practical to your wall. If the texture creates waves and swirls on the wall, there testament be fewer nooks and crannies assemblage dirt. The same is faithful for popcorn walls. Just if you have a wall that's been decorated victimization the slap brush technique, there'll equal plenty of gaps to clear exterior individually using your brushes.
Once each wall is plum, let it prohibitionist naturally. You can turn over turning connected your cap fan to make the drying process quicker. If you want to clean your fans as well, it's best to fare that before cleaning the walls, because the dust removed from your ceiling fans, in primary, leave root on the wall once again.
Now you have sex all the stairs for in effect cleanup textured walls at nursing home. This deep cleanup checklist will also help you tackle separate cleaning chores around the house. Remember that there are effective methods to clean each part of the firm, and you need to unaccompanied the cleaning myths from the facts in range to do the job the right way.
Donjon checking back often to record upwardly on more helpful posts on Zameen Blog. You potty support to our daily newsletter if you don't lack to miss unsuccessful connected our clever tips and tricks. Please do send USA your thoughts, comments, suggestions, and questions at web log@zameen.com as we love hearing from our readers.
how to clean textured walls and ceilings
Source: https://www.zameen.com/blog/cleaning-textured-walls.html
Posted by: mendezfriesess82.blogspot.com
0 Response to "how to clean textured walls and ceilings"
Post a Comment